Anna and Charlie in Oils
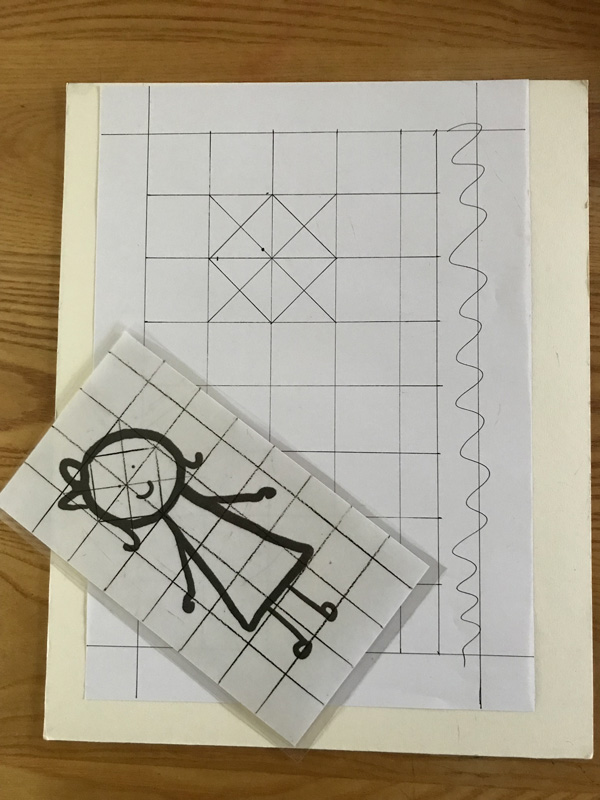
Following on from my blog on the gridding technique, here is the progress of the painting in oils. For this portrait I used SAA artists acrylics and oils.
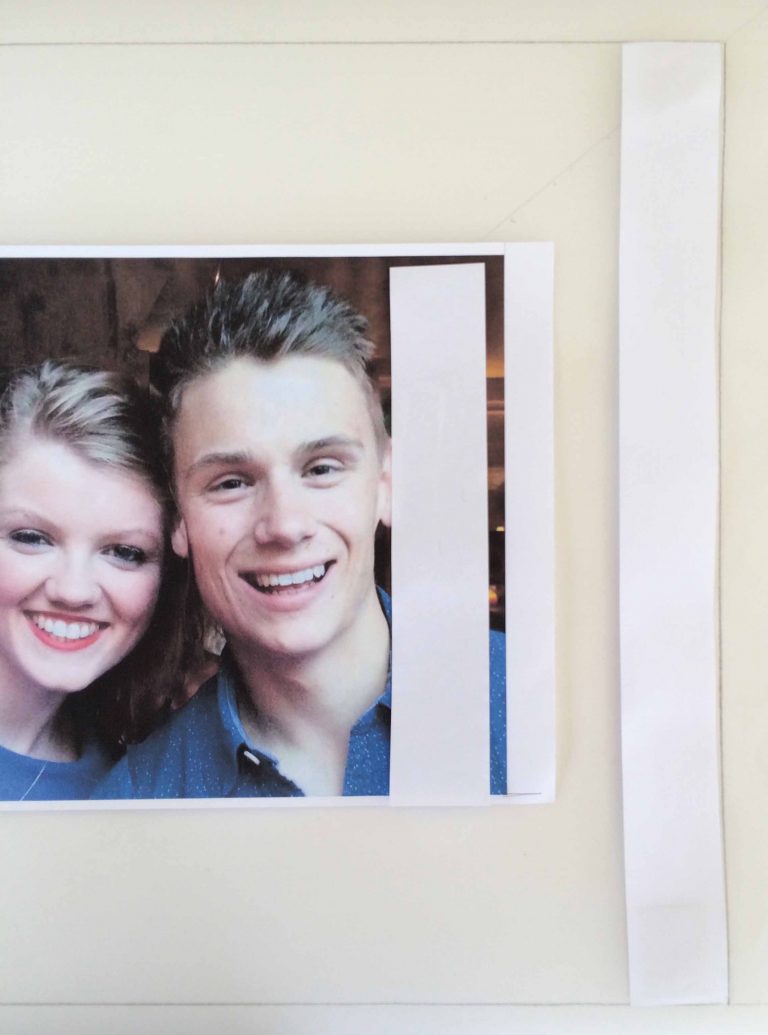
I like using natural primed canvas for my portraits – I think the colour and texture compliment the subject and I can leave some of the portrait sketchy, concentrating on the bits I enjoy. Consequently, it’s important I’m careful not to mark parts of the canvas that aren’t to be painted. I gridded the image onto a thin sheet of paper and used white Tracedown to get the image onto my canvas.
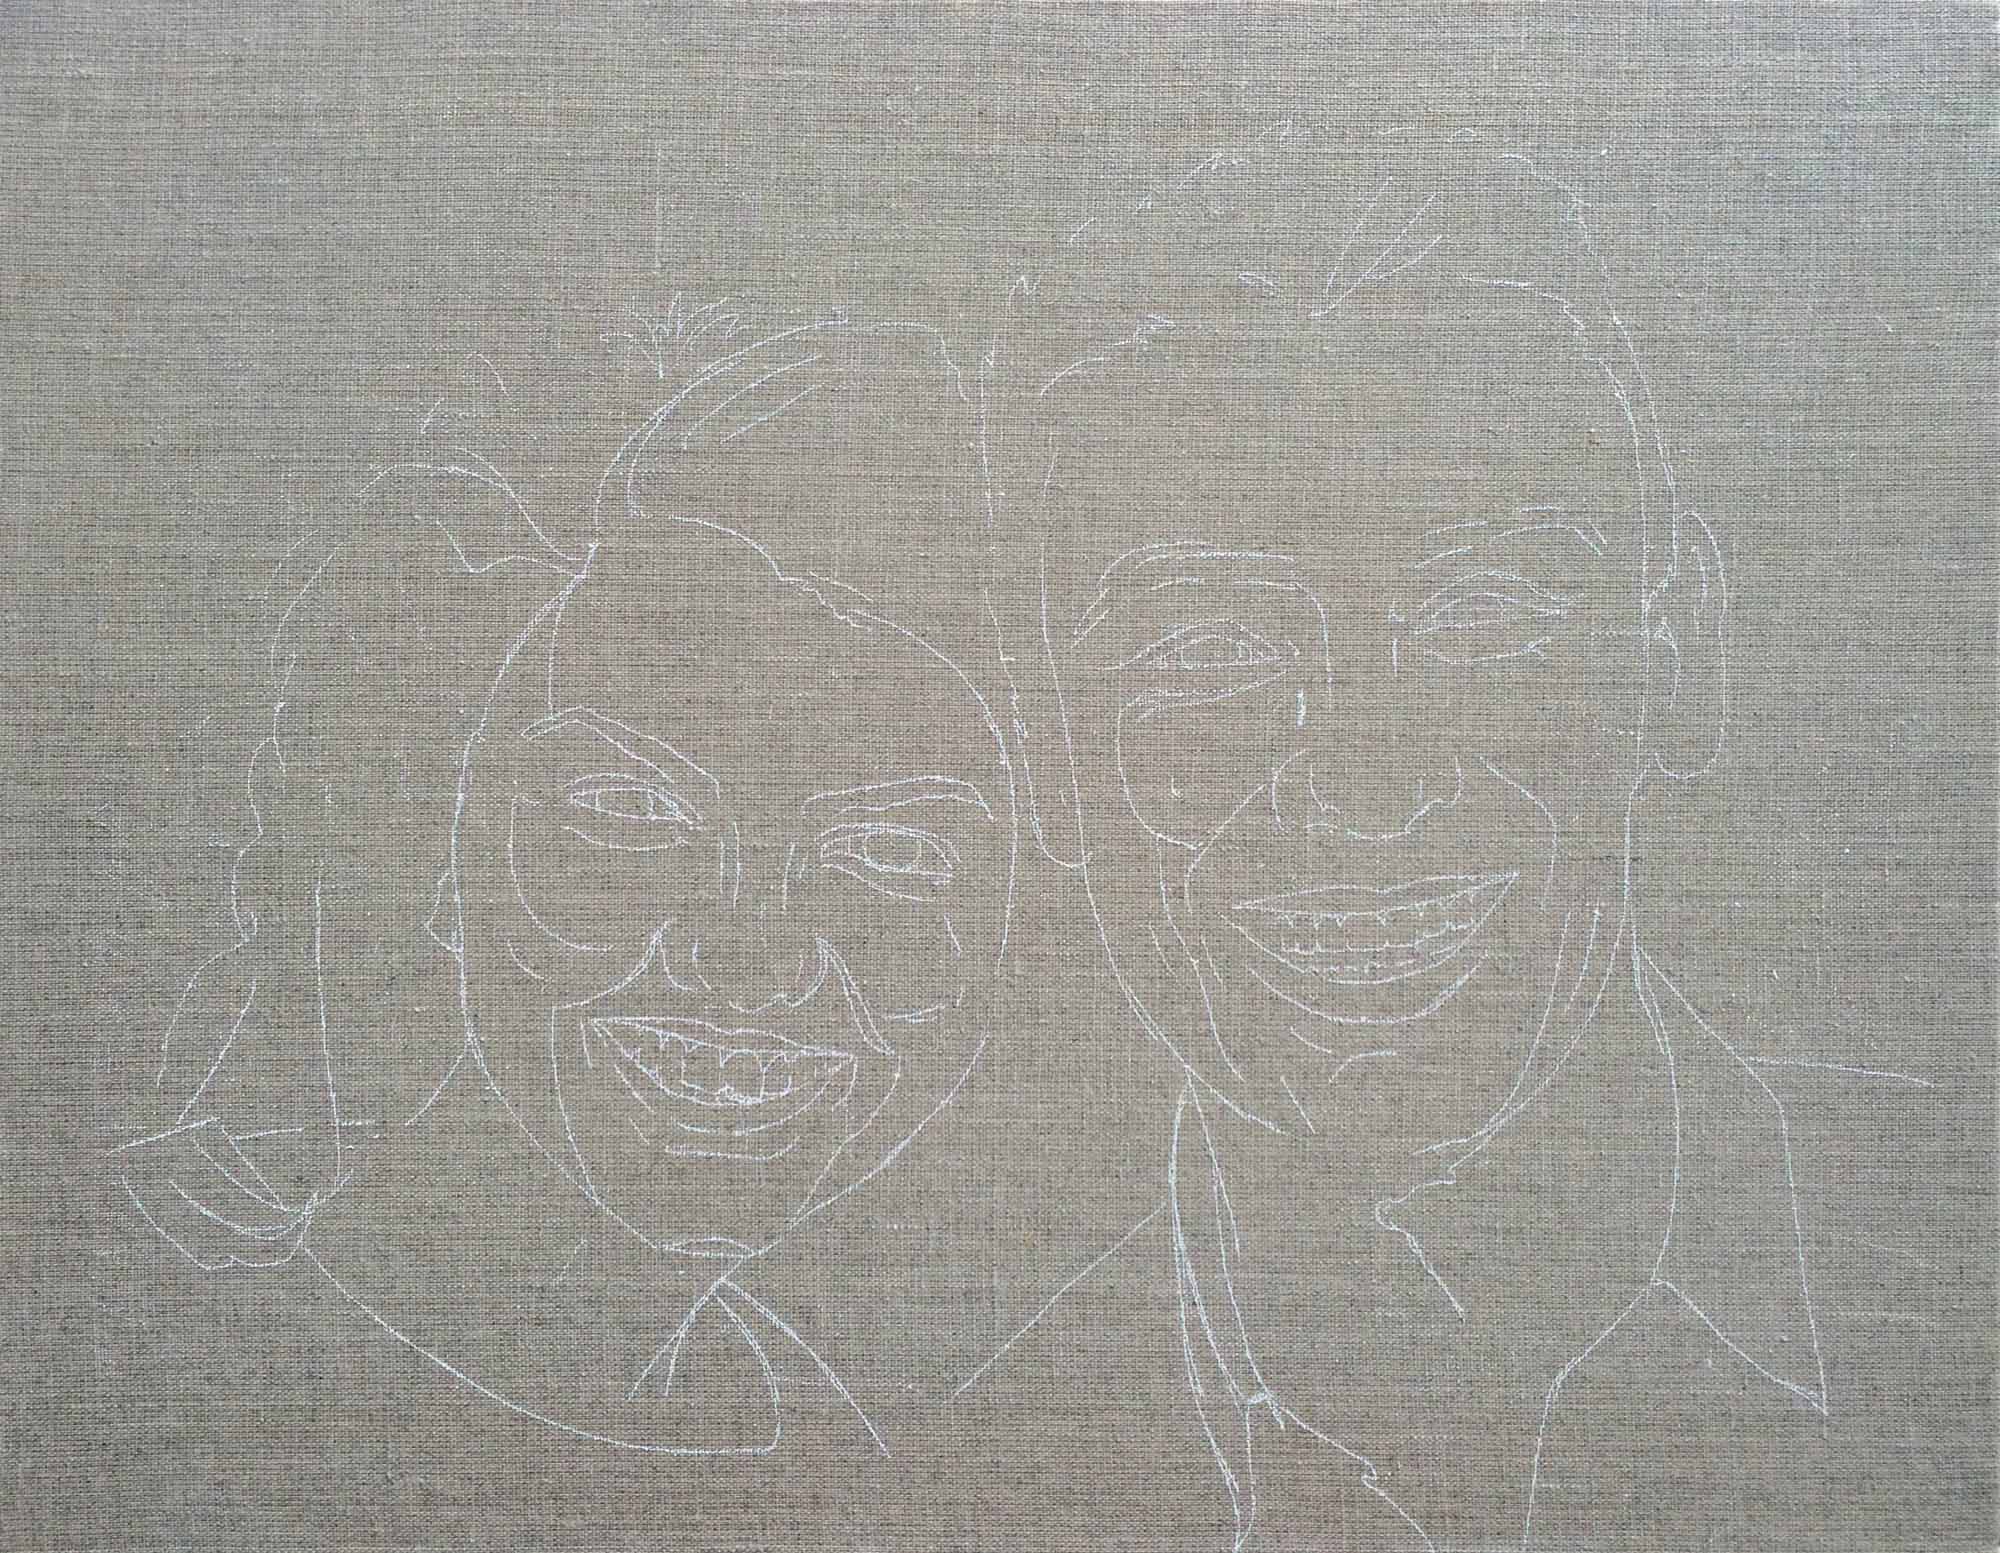
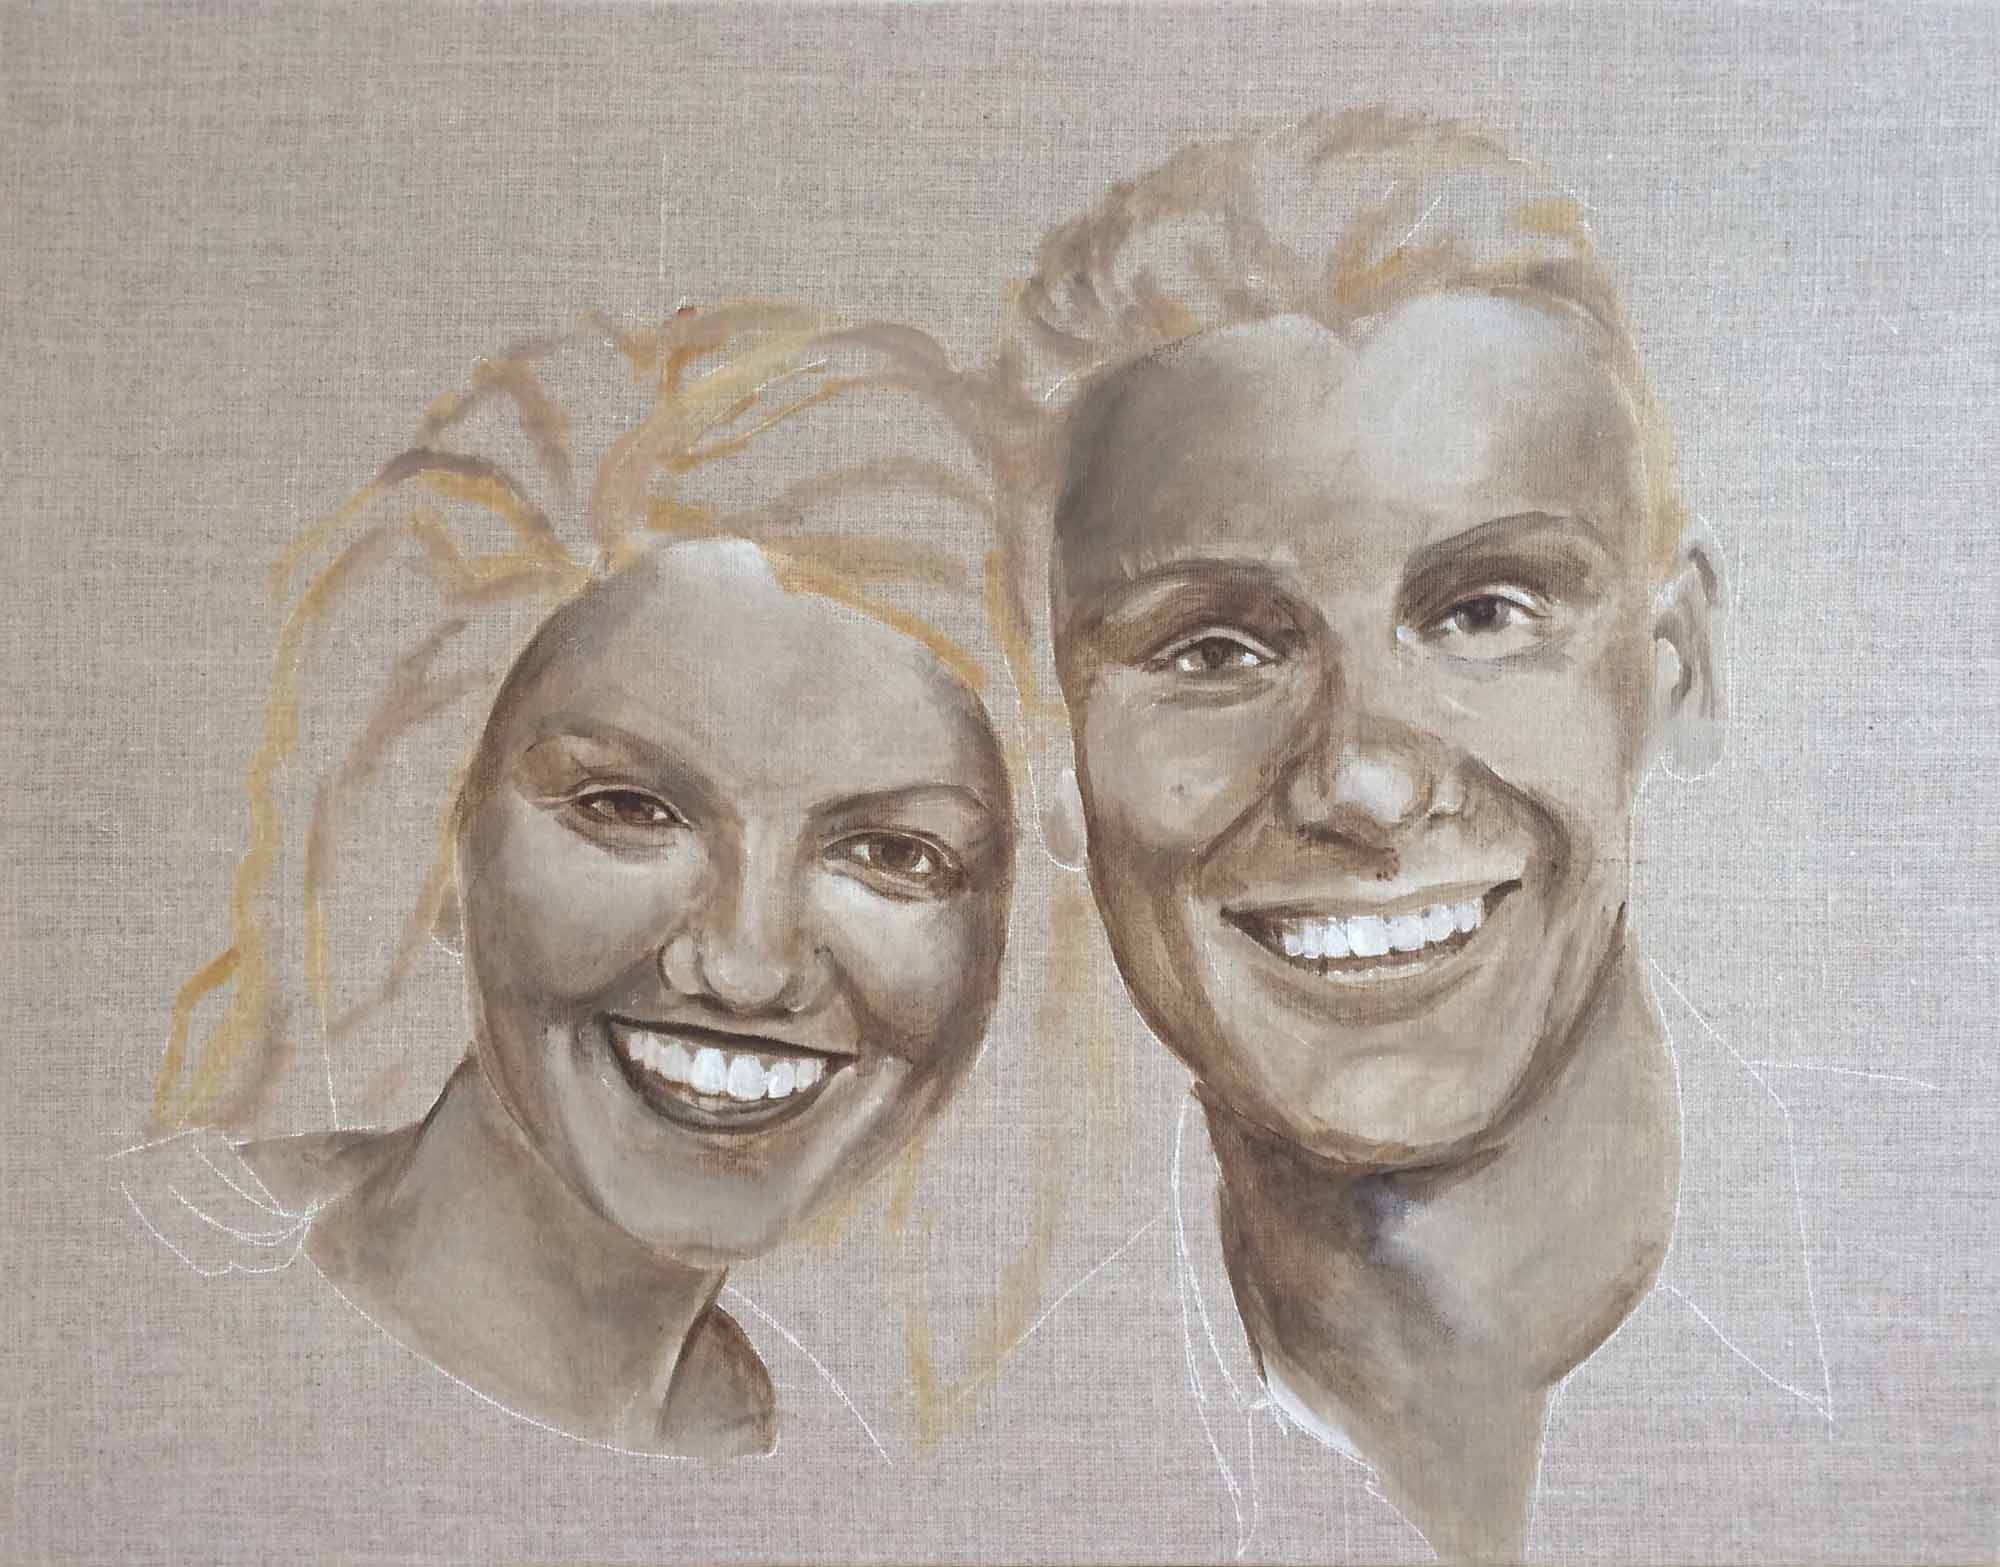
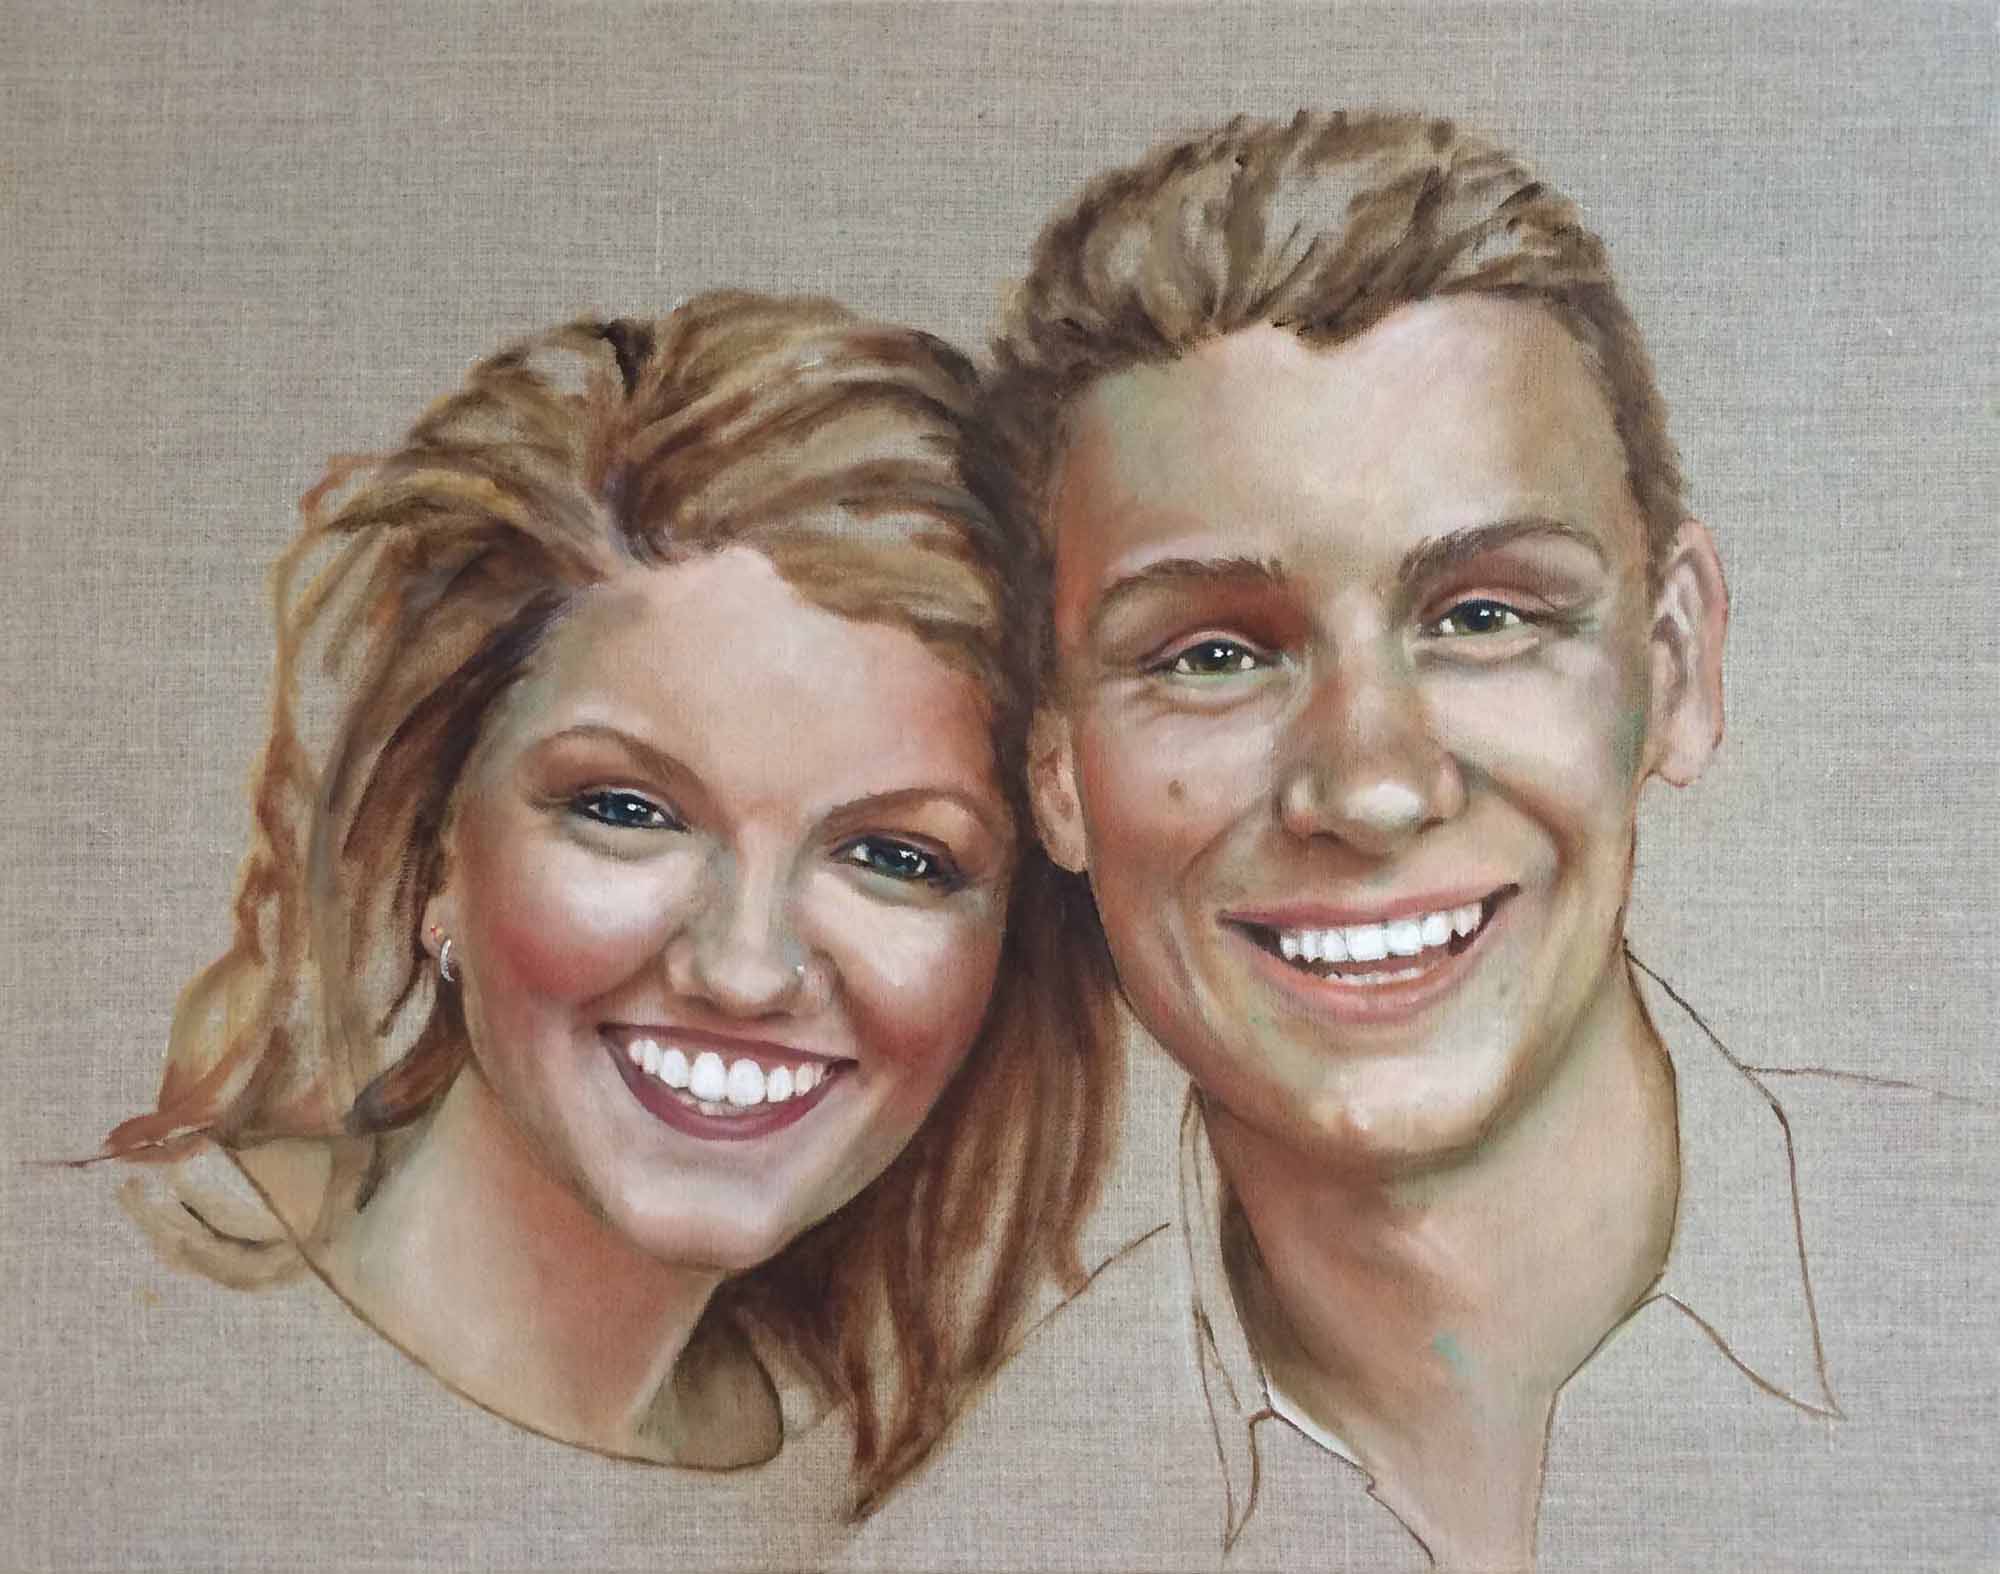
Using Titanium White and Raw Umber acrylics I painted the portrait in monotone. I concentrated on getting lights and darks established and checked that the portrait showed some resemblance to my reference photo, adjusting proportions and details as necessary. I generally print 2 photos for reference, one in colour and one in black and white to help with this stage. Having satisfied myself that this under painting looks like my subjects, I started with the oils -Raw Umber and Yellow Ochre with Titanium White – to briefly sketch the outline of the hair. It’s good to have an idea of the hair early on as it affects how the face looks.
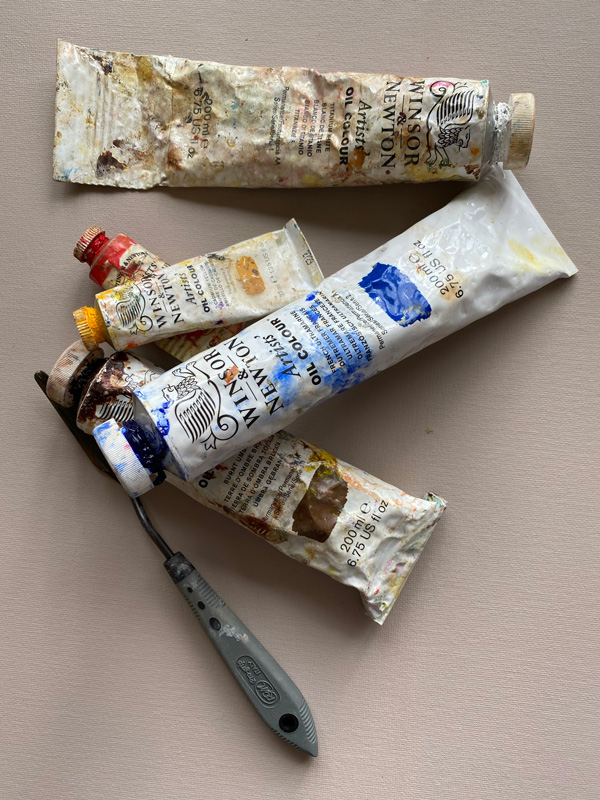
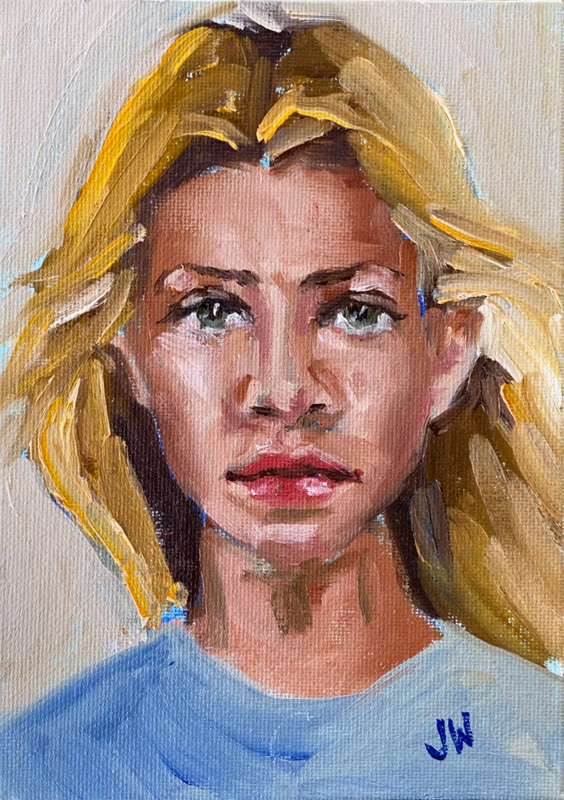
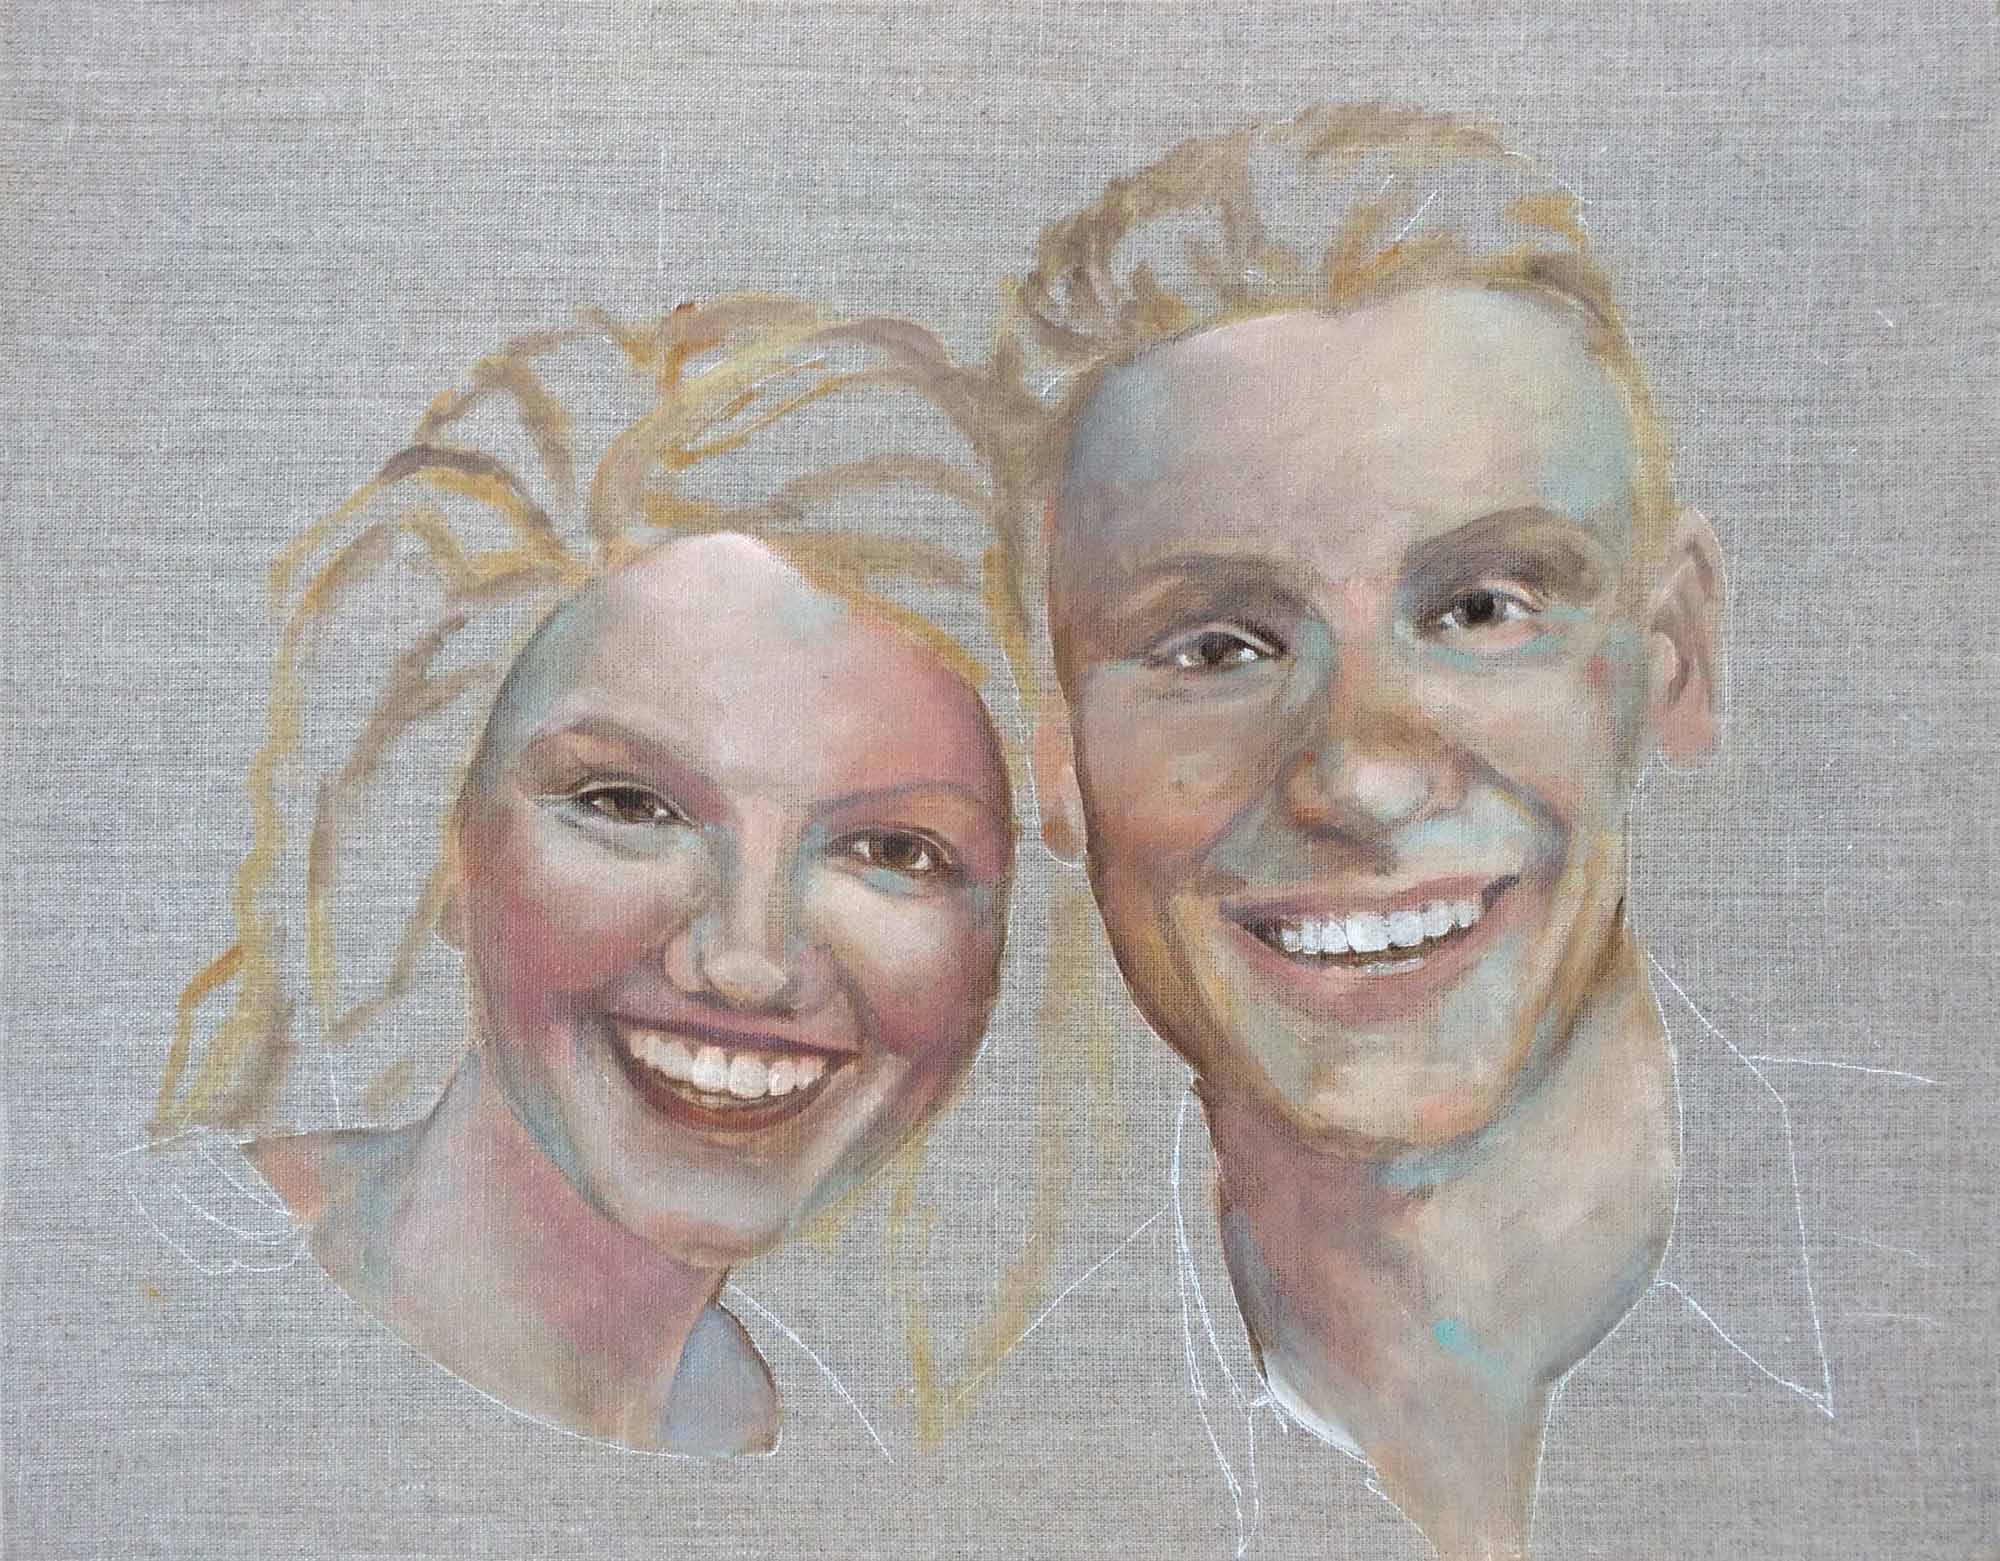
I then started to add colour – this is when the fun begins. At this stage I’m looking at the reference with an open mind as to colour – although I have my favourite colours for portraits, if I think I see a colour there, I paint it. I didn’t worry about being precise with this – I aimed to get colour on everything. I used Liquin in small quantities, just enough to aid the flow of the paint over the canvas. For flesh tones I use Titanium White with Yellow Ochre and/or Light Red – adjusting the colours towards yellow or red as appropriate. I added a little Alizarin Crimson on Anna in places where I needed more of a pink that I can get with Light Red, but I was careful not to overdo this – it can be very strong. Avoid using too red a colour for the lips unless you are painting a subject with lipstick – lips tend to be just slightly redder than the skin tone so, at this stage, use a little more Light Red than Yellow Ochre. I could see a lot of green in the shadows so used a tiny amount of Phthalo Green with white; I painted this quite liberally, as it’ll be painted over later.
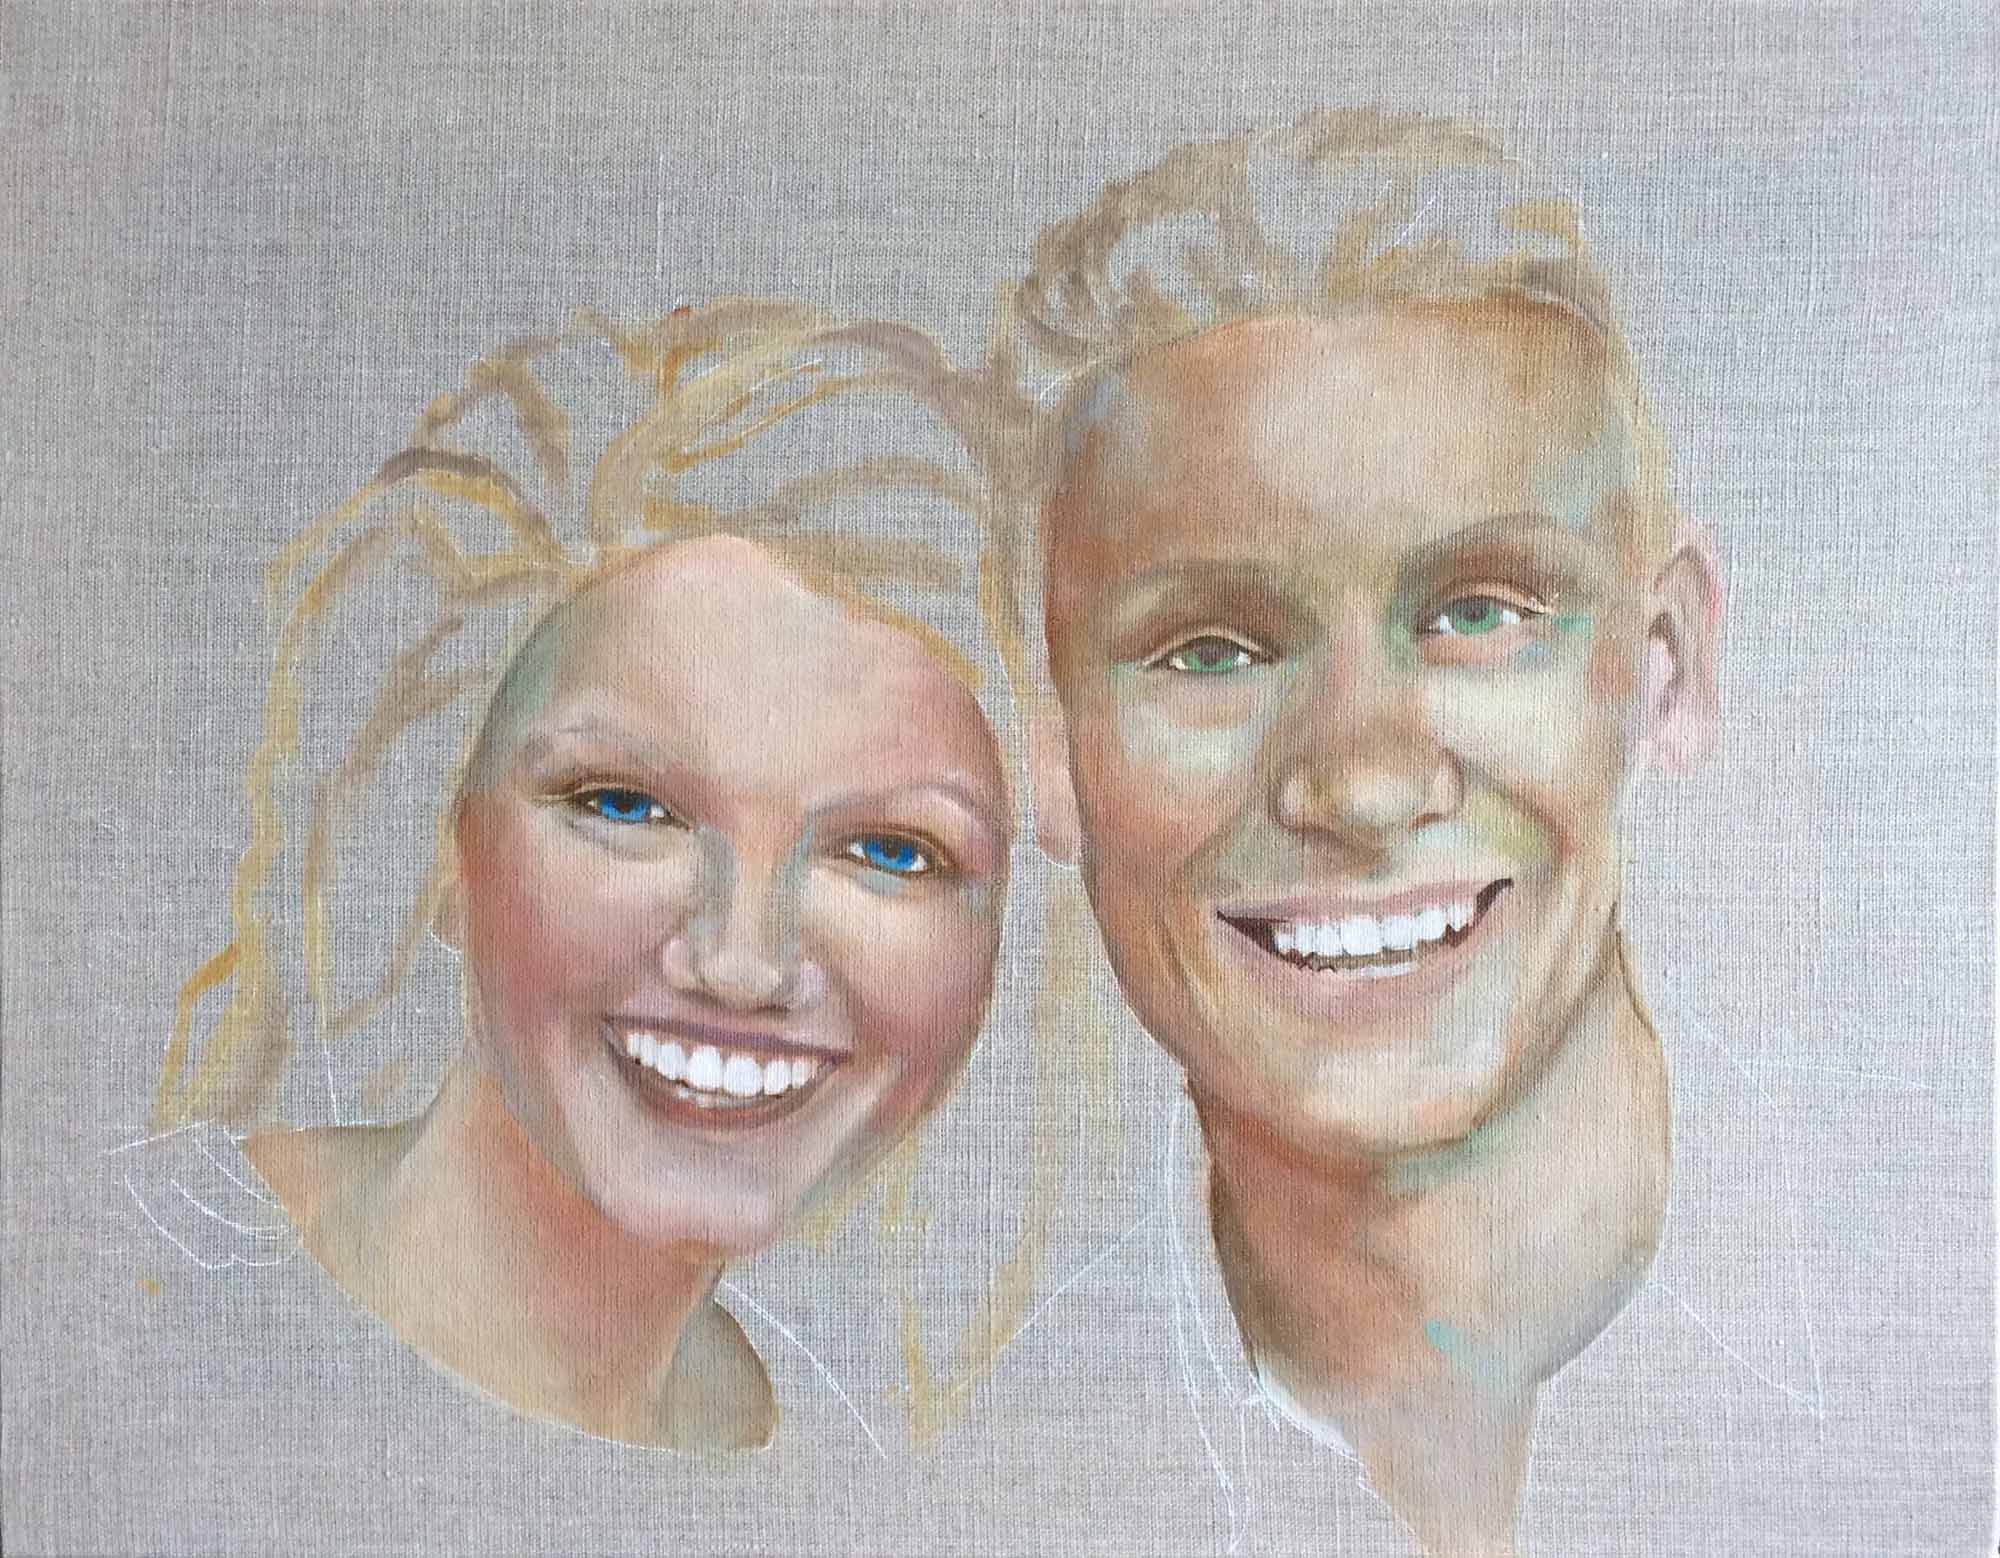
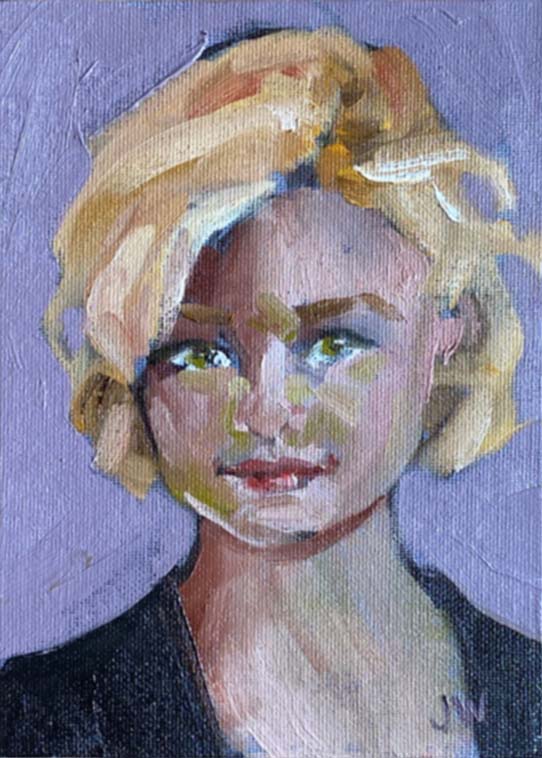
I added some colour to the eyes; a little Prussian Blue and French Ultramarine with Titanium White for Anna and a little Phthalo Green with Sap Green and Titanium White for Charlie. These colours are intense and not natural; I will be adjusting them later. I painted another layer primarily using my skin tone favourites – Yellow Ochre and Light Red with the addition of a little Alizarin Crimson. I started to blend this layer using, mostly, a clean dry brush, occasionally my little finger. When blending, the brush needs constant wiping; in the process, it picks up paint from the painting and you can find yourself adding colour rather than blending.
I added another layer with more blending. I started to pick out detail with a small round brush around the eyes, checks and mouth. I have been quite bold painting lines for cheeks etc as the harsh edges can be blended very easily into the flesh tones. I greyed the eye colour by adding Raw Umber or Yellow Ochre as appropriate. I added a highlight to the eyes. The eyes look quite intense at this stage. I adjusted the lip colour, adding highlight where appropriate. For painting teeth I painted the inside of the mouth using my flesh colours plus Burnt Umber and Raw Umber then added Titanium White loosely on top. I painted the ears loosely – try not to spend too much time fiddling with ears unless you want to draw attention to them. I painted faint eyebrows using a dry brush with Burnt Umber.
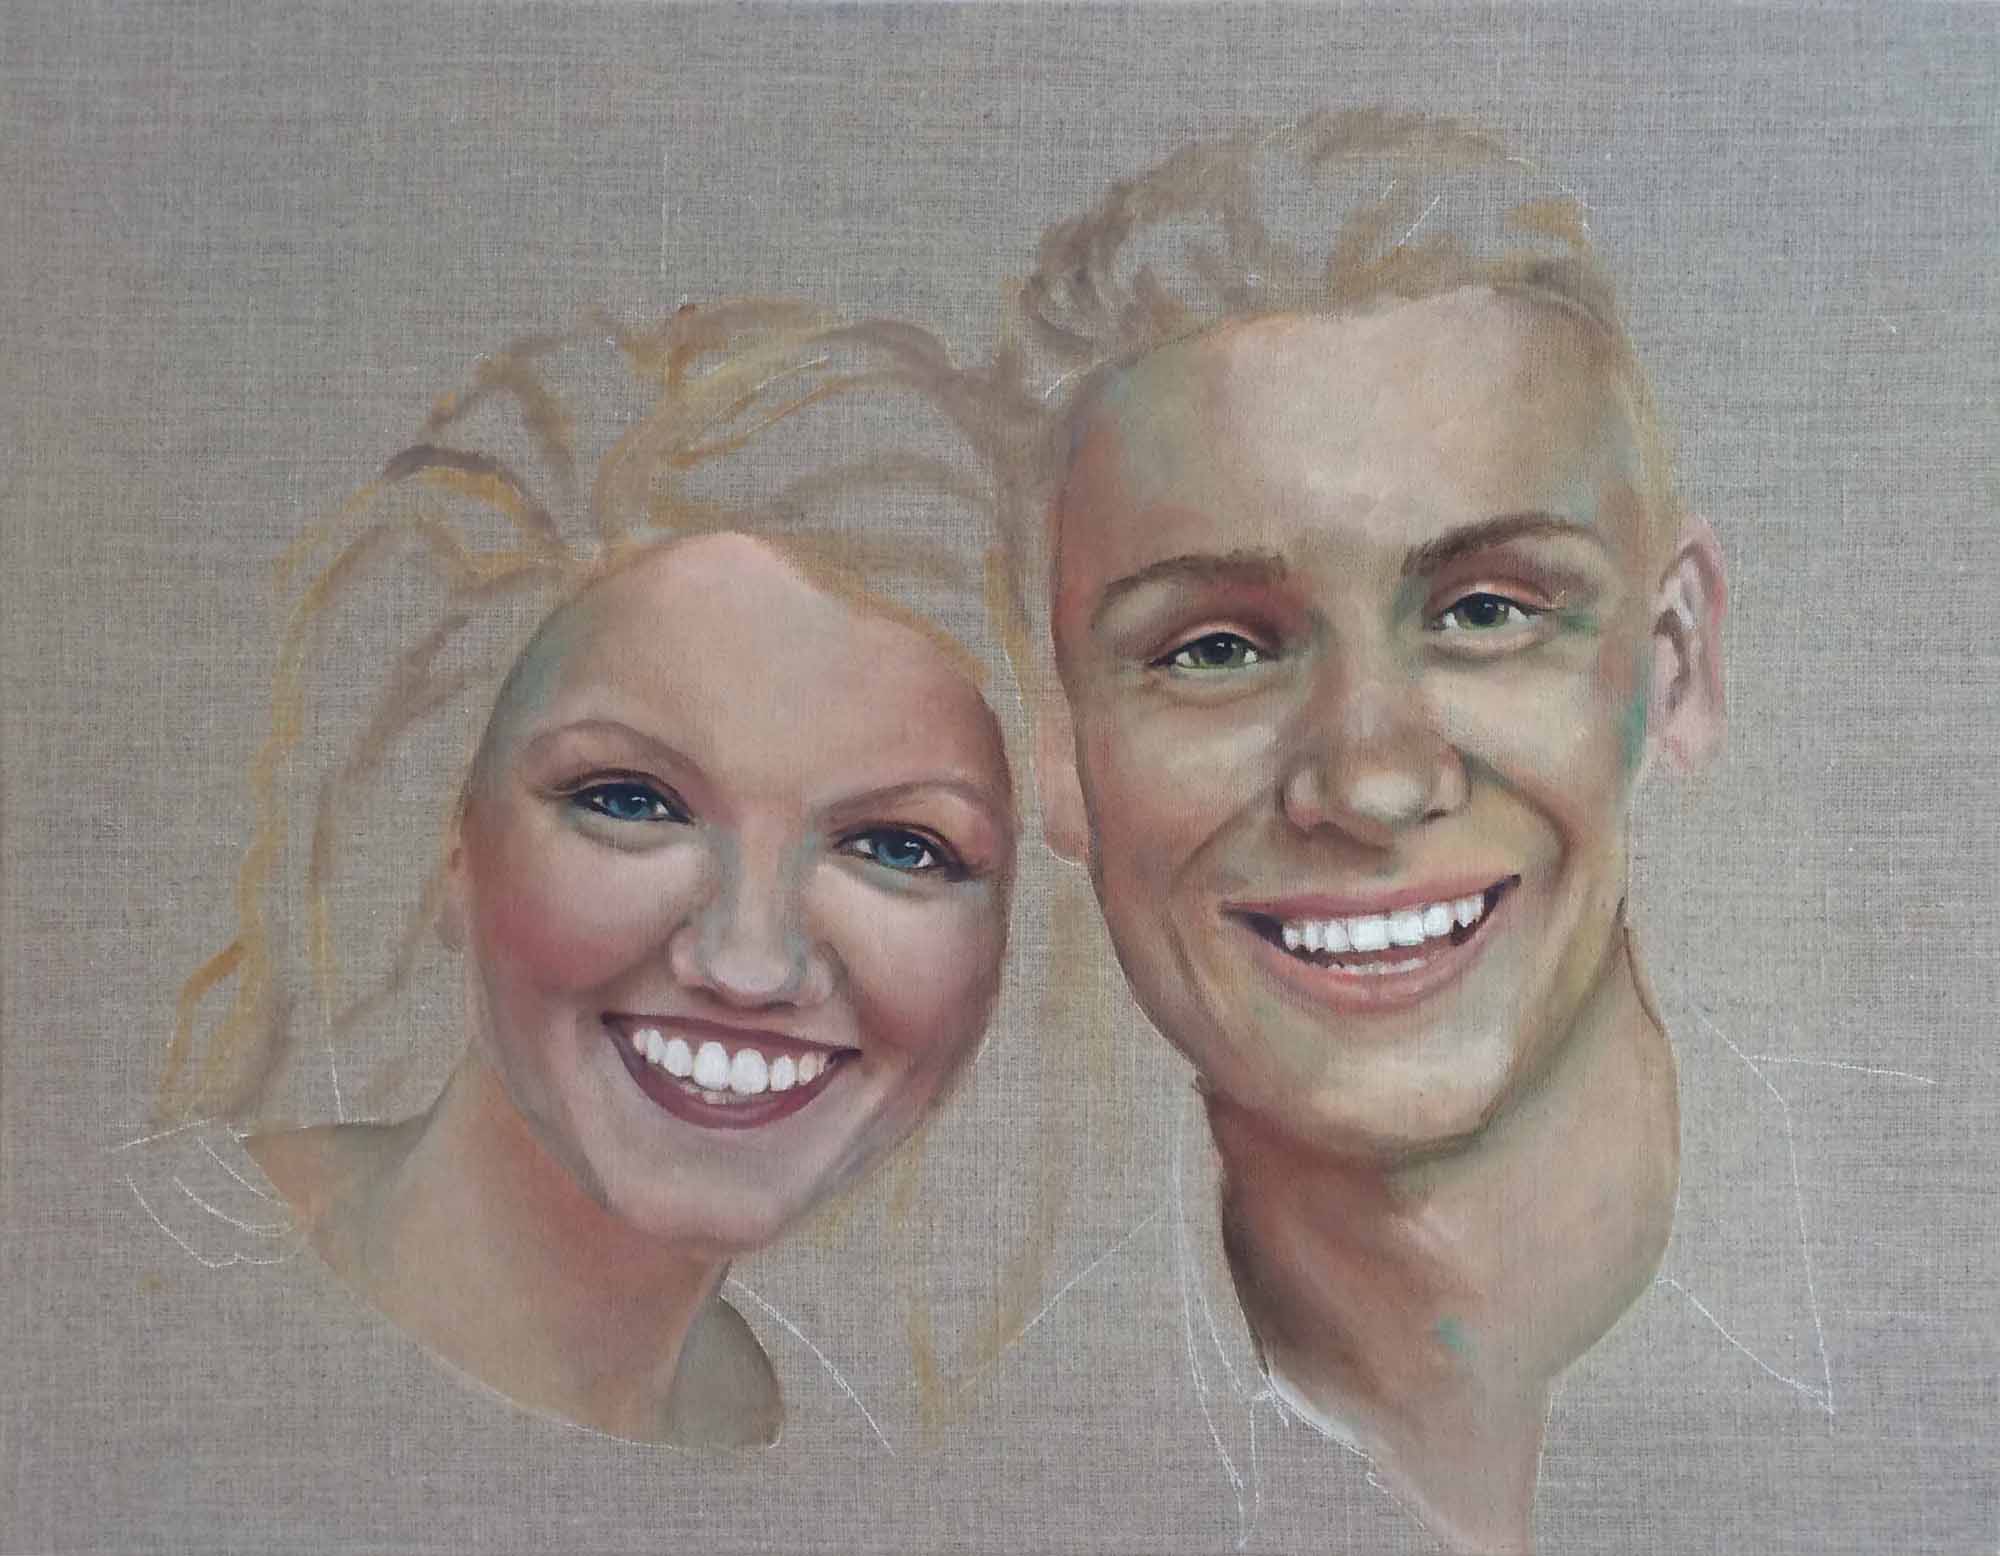
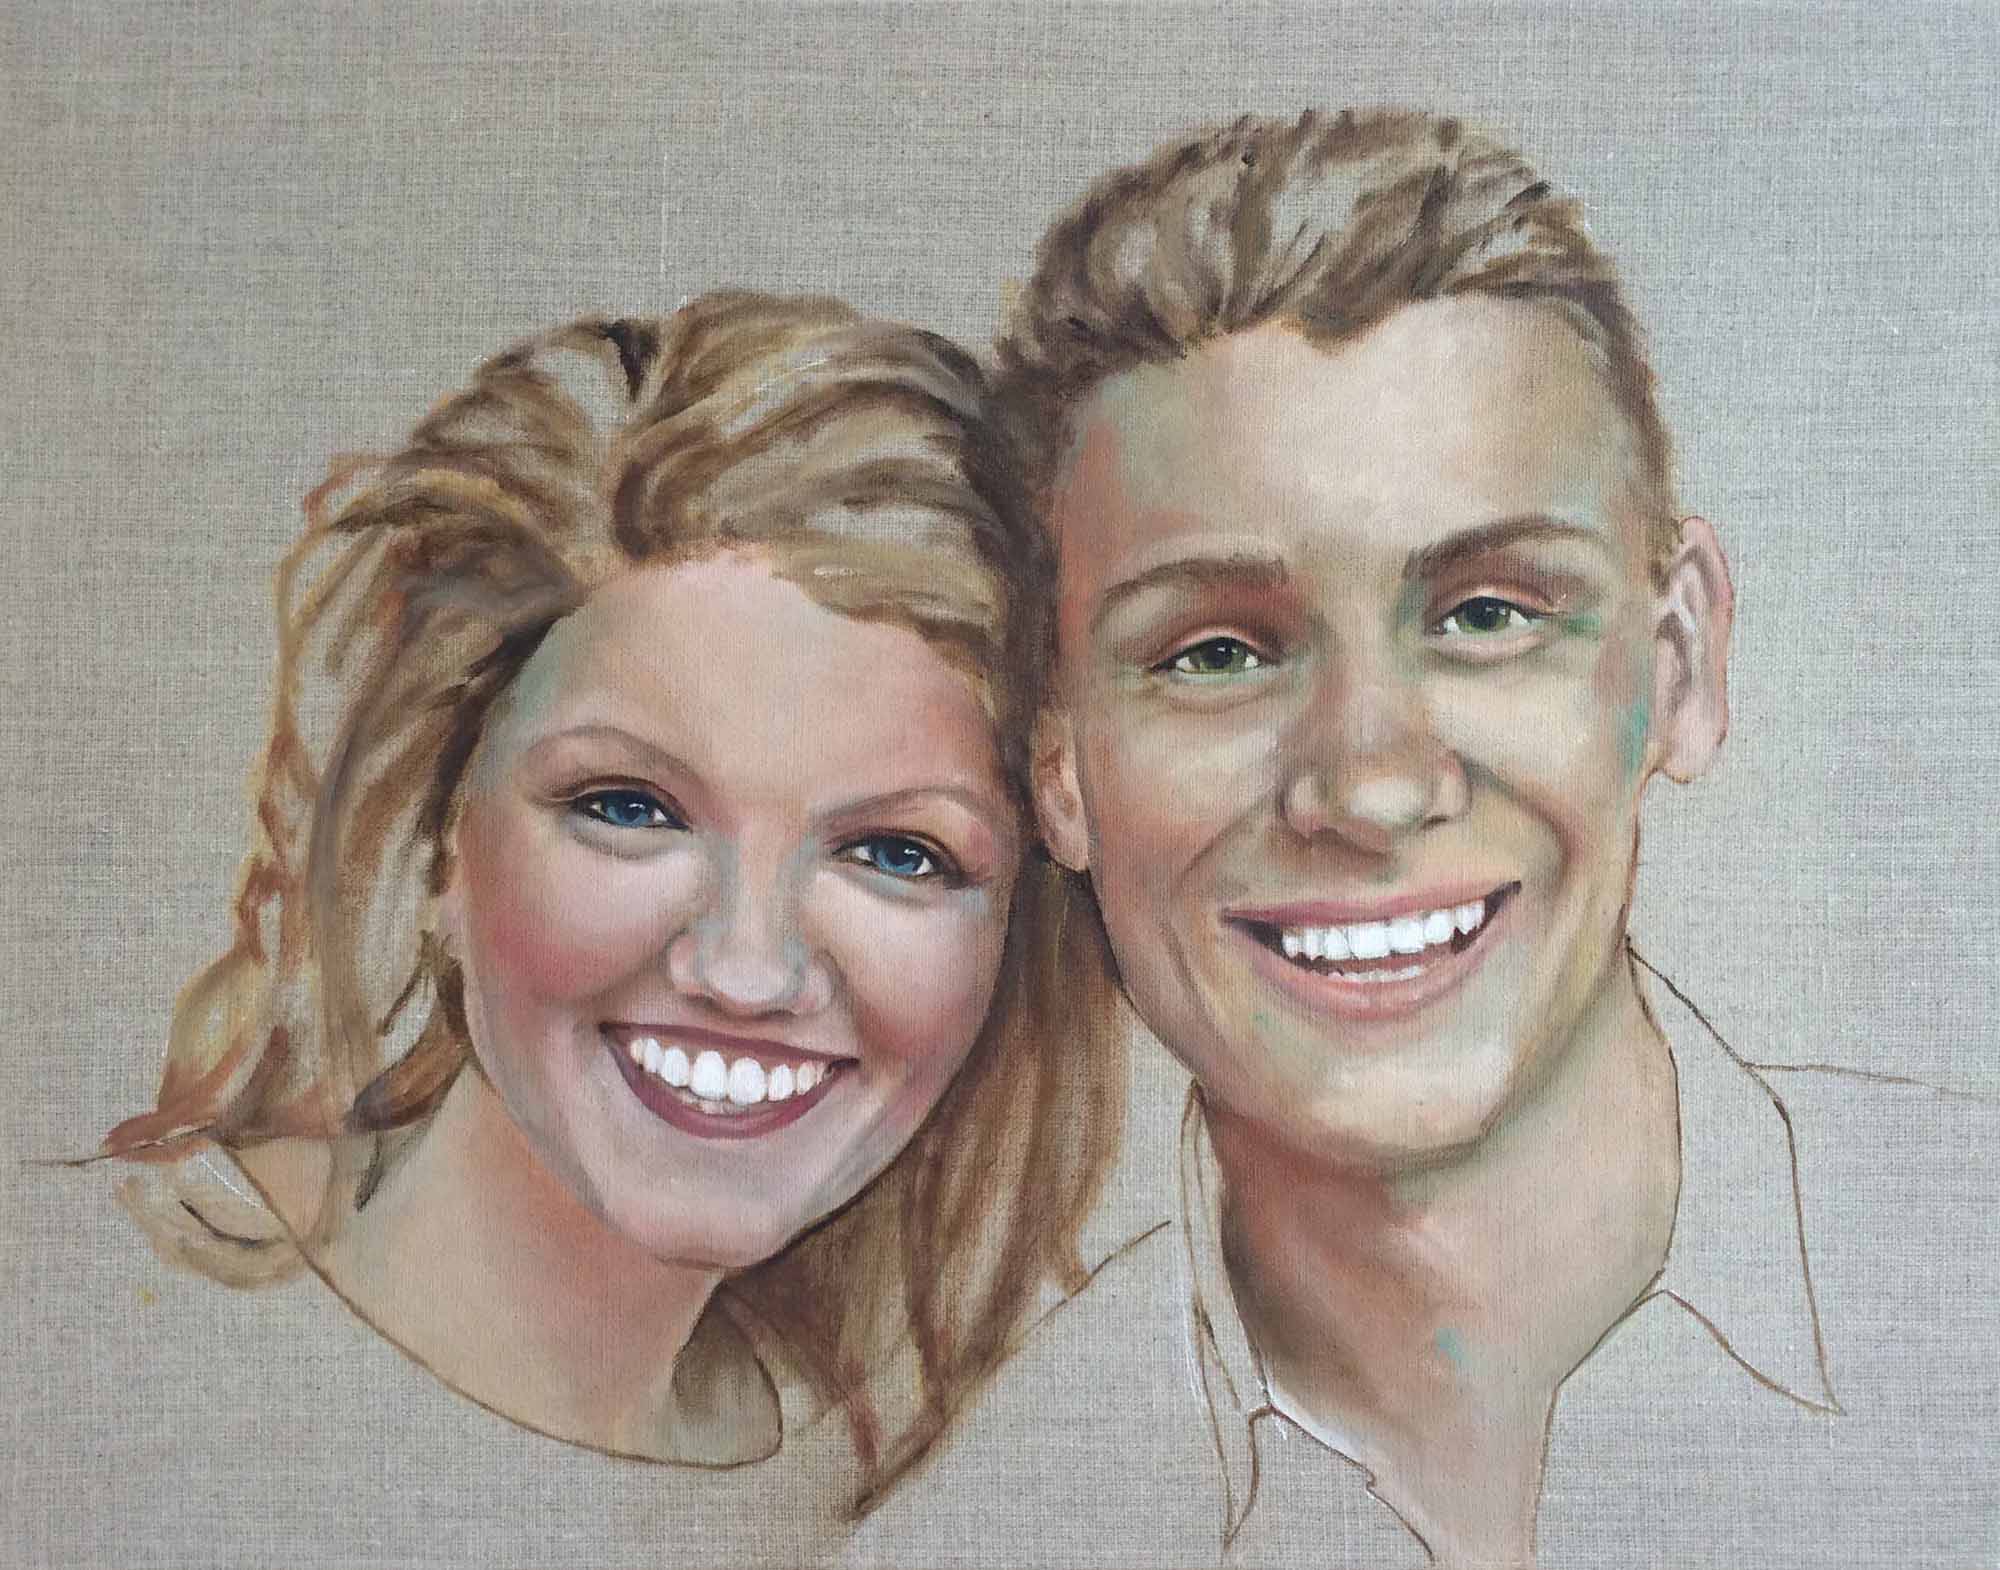
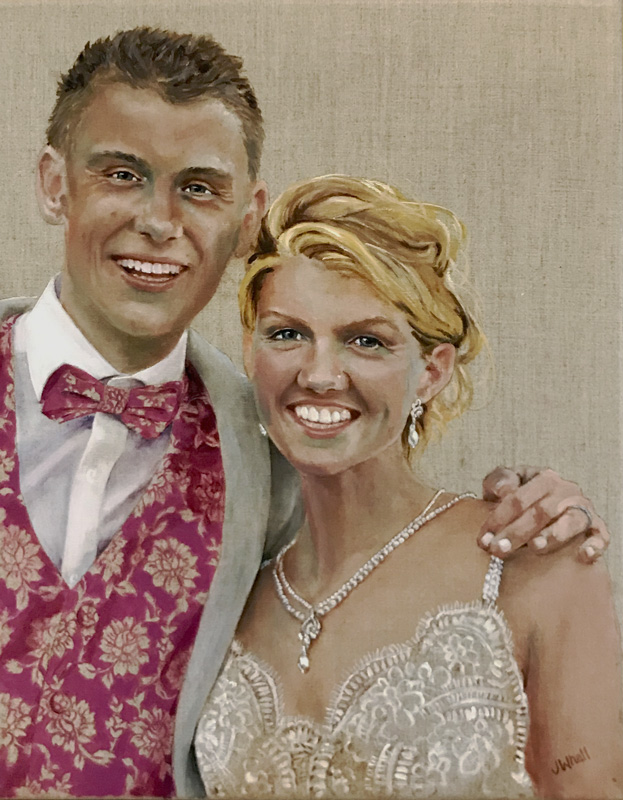
It’s hard to judge a likeness with the hair incomplete. Using a dry, older, tufty brush and a combination of Raw Umber, Burnt Umber, Yellow Ochre and Titanium White I sketched in the hair. I used a fine, round brush and Burnt Umber to sketch the outline of the clothes and define the sides of the faces.
I intensified the colours by using more Liquin and no white. You can apply small amounts of the colour, which will look quite intense but can then be blended with a dry, clean brush to produce glowing colour. This removes the chalky feel. It’s time to add those parts that need to be done last. I adjusted the eye colour again and checked the highlights, which needed reinforcing. I added a little more to the eyebrows, being careful not to overdo it. I decided to leave the hair quite sketchy and decided to stop before over working.